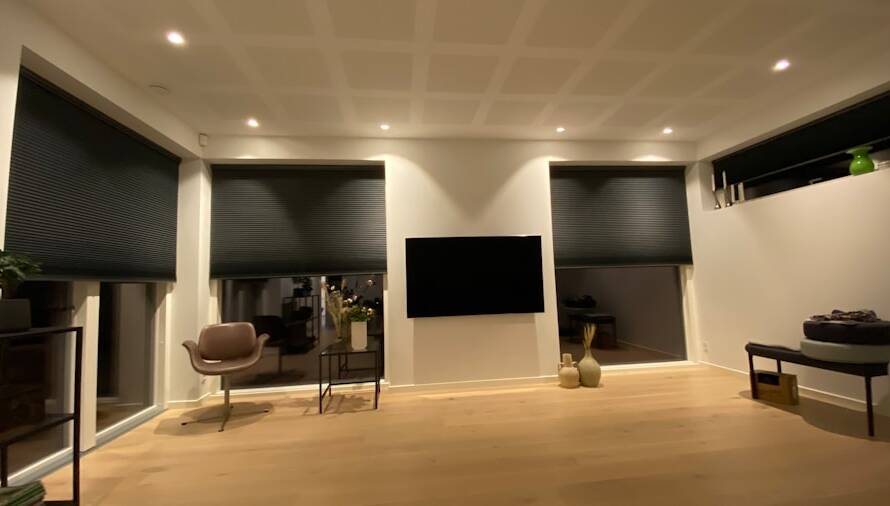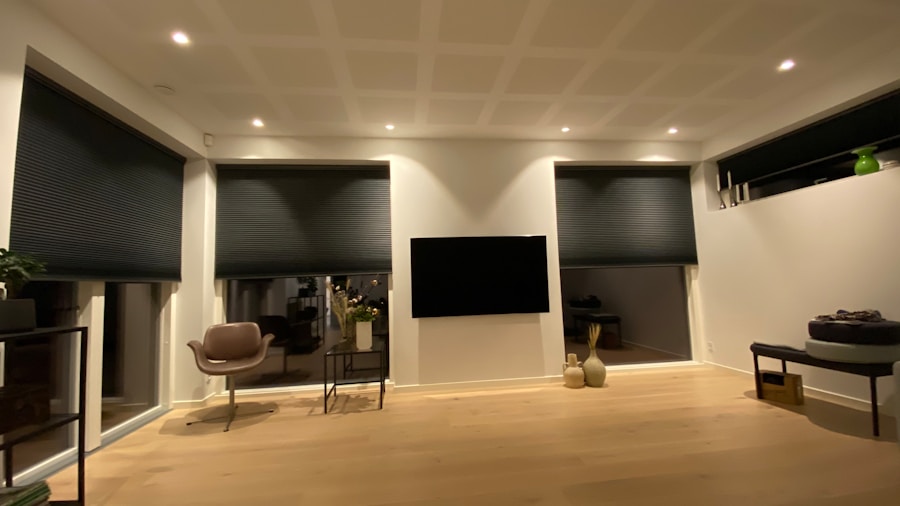
The journey to creating an immersive surround sound experience begins long before any equipment is purchased or installed. Planning and preparation are crucial steps that lay the foundation for a successful audio setup. First, it is essential to assess the space where the surround sound system will be installed.
This involves measuring the room dimensions, noting the layout, and identifying potential obstacles that could affect sound quality, such as furniture placement or wall materials. Understanding the acoustics of the room can significantly influence the final sound output. For instance, a room with hard surfaces may produce echoes, while a carpeted room may absorb sound, leading to a different listening experience.
Once the physical space has been evaluated, the next step is to determine the intended use of the surround sound system. Will it primarily be used for watching movies, gaming, or listening to music? Each application may require different configurations and equipment choices.
For example, a home theater setup might prioritize a powerful subwoofer and high-quality satellite speakers for an immersive cinematic experience, while a music-focused system might benefit from high-fidelity stereo speakers. Additionally, considering the number of viewers or listeners can help in deciding how many speakers are needed and their optimal placement within the room.
Key Takeaways
- Proper planning and preparation are essential for setting up a surround sound system successfully.
- Choosing the right equipment, including speakers and audio receiver, is crucial for achieving high-quality sound.
- Setting up the speakers in the correct positions, such as front, center, and rear, is important for optimal sound distribution.
- Running the wires neatly and efficiently is necessary to avoid clutter and potential hazards.
- Connecting the audio receiver properly to all components and calibrating the system for optimal sound quality are key steps in the setup process.
- Testing the system and troubleshooting any issues that arise are important before enjoying the surround sound experience.
- Once everything is set up and working properly, you can sit back and enjoy your new surround sound system to the fullest.
Choosing the Right Equipment
Selecting the right equipment is a pivotal aspect of building a surround sound system that meets your needs and preferences. The heart of any audio setup is the audio receiver, which acts as the central hub for all audio signals. When choosing a receiver, it is important to consider factors such as power output, number of channels, and compatibility with various audio formats.
Modern receivers often support advanced technologies like Dolby Atmos and DTS:X, which enhance the surround sound experience by adding height channels for a more three-dimensional soundstage. In addition to the receiver, speaker selection plays a critical role in achieving high-quality sound.
When selecting speakers, it is essential to match their specifications with the receiver’s capabilities to ensure optimal performance. Brands like Klipsch, Bose, and Sonos offer a range of options that cater to different budgets and preferences. Furthermore, considering speaker types—such as bookshelf speakers versus floor-standing models—can impact both sound quality and aesthetic appeal in your living space.
Setting Up the Speakers
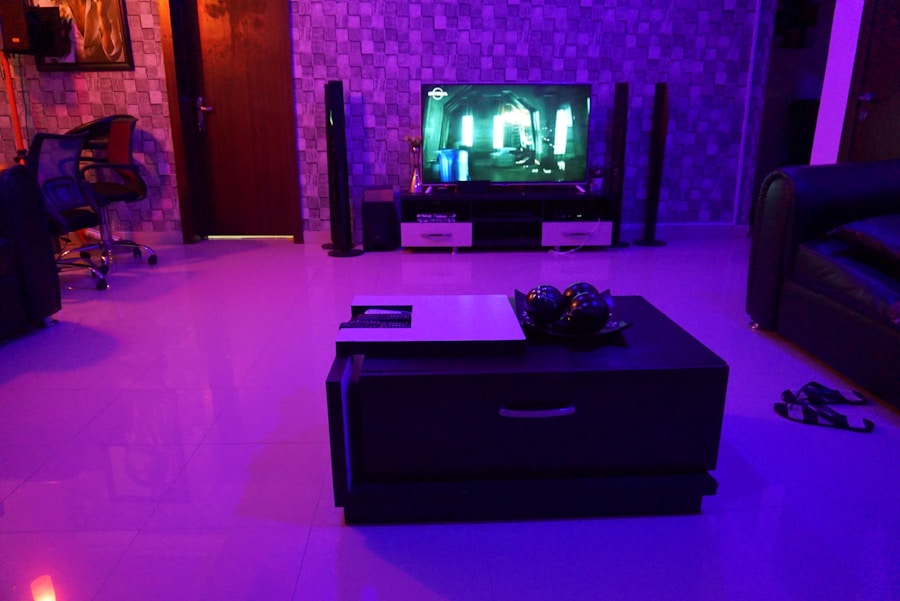
Once the equipment has been chosen, the next step is to set up the speakers in accordance with the layout of the room and the intended use of the system. The placement of each speaker is crucial for achieving an immersive audio experience. The front left and right speakers should be positioned at ear level when seated and angled slightly towards the listening area to create a cohesive soundstage.
The center channel speaker, responsible for dialogue clarity in movies and TV shows, should be placed directly above or below the screen to ensure that sound appears to emanate from the on-screen action. Surround speakers are typically placed on the side walls or slightly behind the listening position to create an enveloping sound environment. Ideally, these speakers should be mounted at ear level or slightly above for optimal effect.
If using a subwoofer, its placement can be more flexible; however, experimenting with different locations can help find the “sweet spot” where bass response is most effective. Many audiophiles recommend using a technique called “subwoofer crawl,” where you temporarily place the subwoofer in your listening position and move around the room to identify where bass sounds best before permanently positioning it.
Running the Wires
With speakers positioned correctly, attention turns to running wires to connect everything seamlessly. Proper cable management is essential not only for aesthetics but also for ensuring signal integrity and minimizing interference. Depending on the layout of your room, you may need to run speaker wires along baseboards or through walls for a clean look.
It’s advisable to use high-quality speaker wire that matches the impedance and power requirements of your speakers to avoid any loss in audio quality. When running wires through walls or ceilings, it’s important to adhere to local building codes and safety regulations. Using in-wall rated cables can prevent potential fire hazards and ensure compliance with electrical standards.
Additionally, consider using cable conduits or raceways for easier access in case future adjustments are needed. For those who prefer a wireless setup, many modern surround sound systems offer wireless speakers that eliminate the need for extensive wiring; however, these systems may require careful consideration of battery life and potential latency issues.
Connecting the Audio Receiver
After successfully running wires and positioning all components, it’s time to connect everything to the audio receiver. This process involves plugging in each speaker wire into its corresponding terminal on the receiver while ensuring that positive and negative connections are correctly matched to avoid phase issues that can degrade sound quality. Most receivers have color-coded terminals that simplify this process; however, double-checking connections is always wise.
HDMI connections are preferred due to their ability to carry both audio and video signals in high definition. Once all devices are connected, configuring input settings on the receiver will allow seamless switching between different sources during use.
This step is crucial for ensuring that all components work harmoniously together.
Calibrating the System
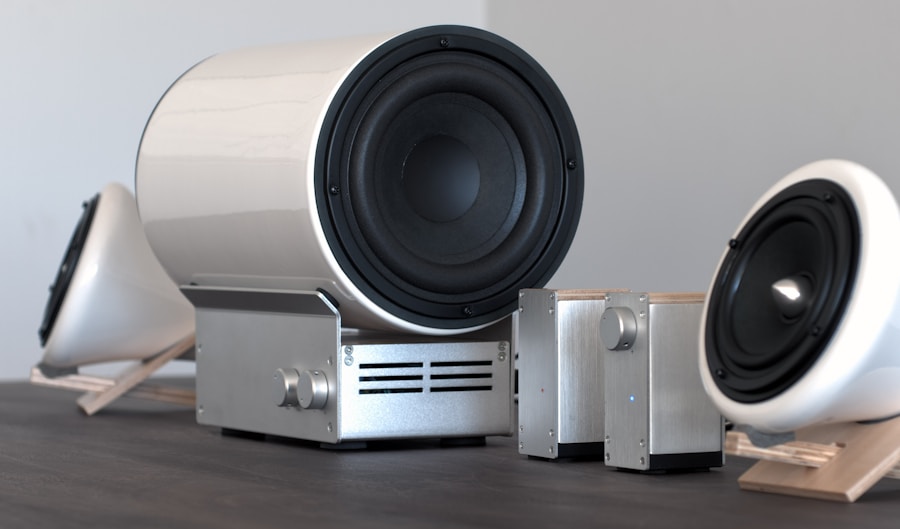
Calibration is an often-overlooked step that can significantly enhance your surround sound experience. Most modern receivers come equipped with automatic calibration systems that utilize microphones to measure sound levels from each speaker at your listening position. This process adjusts speaker levels, distances, and equalization settings to create a balanced audio environment tailored to your specific room acoustics.
For those who prefer a more hands-on approach, manual calibration can also yield excellent results. This involves adjusting speaker levels using a sound meter or smartphone app while playing test tones or pink noise through each speaker individually. By fine-tuning levels based on your personal preferences and room characteristics, you can achieve a more customized listening experience that suits your tastes.
Testing and Troubleshooting
Once calibration is complete, it’s time to put your surround sound system through its paces with testing and troubleshooting. Start by playing various types of content—movies with dynamic soundtracks, music with intricate details, and games with immersive audio environments—to evaluate how well your system performs across different scenarios. Pay attention to aspects such as clarity of dialogue, balance between channels, and overall immersion.
If any issues arise during testing—such as distortion from certain speakers or lack of bass response—troubleshooting becomes necessary. Common problems may include incorrect wiring connections or settings within the receiver that need adjustment. Utilizing online forums or manufacturer support resources can provide valuable insights into resolving specific issues you may encounter.
Enjoying Your Surround Sound System
With everything set up and calibrated, it’s finally time to enjoy your new surround sound system! Whether you’re hosting movie nights with friends or indulging in solo gaming sessions, having a well-designed audio setup can transform your entertainment experience into something truly special. The rich sounds enveloping you from all directions create an atmosphere that enhances storytelling and emotional engagement in films or games.
Moreover, sharing this experience with others can foster memorable moments as friends gather around for movie marathons or gaming competitions. The investment in time and resources spent on planning, equipment selection, setup, calibration, and troubleshooting culminates in an audio experience that elevates everyday activities into extraordinary events. As technology continues to evolve, staying informed about new advancements in audio equipment can further enhance your enjoyment over time, ensuring that your surround sound system remains a centerpiece of entertainment in your home for years to come.
If you’re looking to enhance the overall ambiance of your Brooklyn basement home theater, you may want to consider exploring different lighting solutions. This article on basement lighting solutions offers valuable insights on how to effectively illuminate your space to create the perfect movie-watching environment. By incorporating smart lighting options, you can further elevate the viewing experience in your home theater.
FAQs
What are the benefits of installing surround sound in a basement home theater?
Installing surround sound in a basement home theater can greatly enhance the audio experience, providing immersive sound that complements the visual experience of watching movies or playing video games. It can also add value to your home and create a more enjoyable entertainment space for family and friends.
What equipment is needed to install surround sound in a basement home theater?
To install surround sound in a basement home theater, you will need a receiver, speakers (including front, center, rear, and subwoofer), speaker wire, and possibly a soundbar or additional audio equipment depending on your specific setup and preferences.
What are the basic steps to install surround sound in a basement home theater?
The basic steps to install surround sound in a basement home theater include planning the layout and speaker placement, running speaker wire, connecting the speakers to the receiver, configuring the audio settings, and testing the system to ensure everything is working properly.
Are there any specific considerations for installing surround sound in a basement home theater?
When installing surround sound in a basement home theater, it’s important to consider the acoustics of the space, potential soundproofing measures, and any specific challenges related to the basement environment such as moisture or limited space for wiring and equipment.
Should I hire a professional to install surround sound in my basement home theater?
While it is possible to install surround sound in a basement home theater as a DIY project, some homeowners may prefer to hire a professional to ensure the best possible audio quality and to address any specific challenges related to the basement environment.