Before embarking on any renovation project in a basement, particularly when it comes to flooring, it is crucial to assess the moisture levels present in the space. Basements are inherently prone to moisture issues due to their location below ground level, where they are more susceptible to groundwater seepage and humidity. To accurately gauge the moisture levels, homeowners can utilize a variety of methods.
One common approach is to conduct a simple plastic sheet test. This involves sealing a square of clear plastic sheeting to the concrete floor with tape and leaving it undisturbed for 24 to 48 hours. If condensation forms on the underside of the plastic, it indicates that moisture is present in the concrete, which could lead to problems if not addressed before flooring installation.
In addition to the plastic sheet test, using a moisture meter can provide more precise readings. These devices measure the moisture content in the concrete and can help determine whether it falls within acceptable limits for flooring installation. Generally, a moisture content of 4% or lower is considered safe for most flooring materials.
If readings exceed this threshold, it may be necessary to implement additional moisture control measures before proceeding with any flooring installation. Understanding the moisture levels in the basement not only informs the choice of flooring material but also helps in planning for potential remediation strategies.
Key Takeaways
- Assessing the basement’s moisture levels is crucial before choosing any flooring material
- Choosing moisture-resistant flooring material is essential for preventing damage in a basement
- Properly preparing the basement floor for installation is key to ensuring the longevity of the flooring
- Installing a vapor barrier is necessary to protect moisture-resistant flooring from potential water damage
- Sealing the edges and joints of the flooring is important for maintaining its moisture resistance
Choosing the Right Moisture-Resistant Flooring Material
Selecting the appropriate flooring material for a basement is paramount, especially when dealing with moisture concerns. Traditional hardwood floors, while aesthetically pleasing, are often ill-suited for basements due to their susceptibility to warping and mold growth in damp environments. Instead, homeowners should consider moisture-resistant alternatives such as vinyl plank flooring, tile, or engineered wood.
Vinyl plank flooring has gained popularity in recent years due to its durability, water resistance, and ease of installation. It mimics the appearance of hardwood or stone while providing a robust barrier against moisture. Another excellent option is ceramic or porcelain tile, which is inherently resistant to water and can withstand high humidity levels without deteriorating.
Tiles come in a wide variety of styles and colors, allowing homeowners to achieve their desired aesthetic while ensuring functionality. Engineered wood is another viable choice; it consists of a plywood base topped with a hardwood veneer, making it more stable than solid wood in fluctuating moisture conditions. When selecting flooring materials, it is essential to consider not only their resistance to moisture but also their comfort underfoot and overall design compatibility with the rest of the home.
Preparing the Basement Floor for Installation
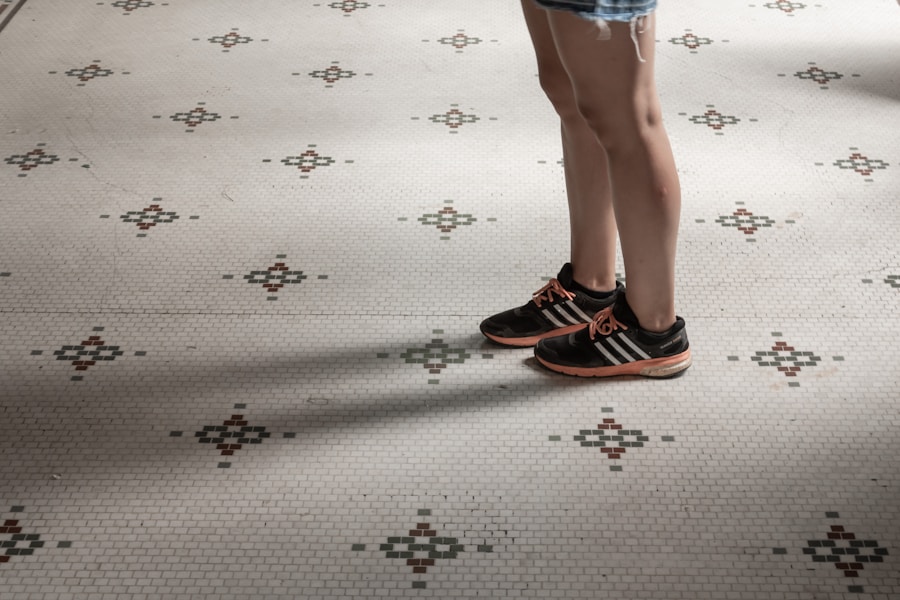
Once the right flooring material has been chosen, preparing the basement floor for installation becomes the next critical step. This process begins with a thorough cleaning of the concrete surface to remove any dust, debris, or contaminants that could interfere with adhesion or create an uneven surface. A power washer can be an effective tool for this task, especially if there are any stubborn stains or residues present.
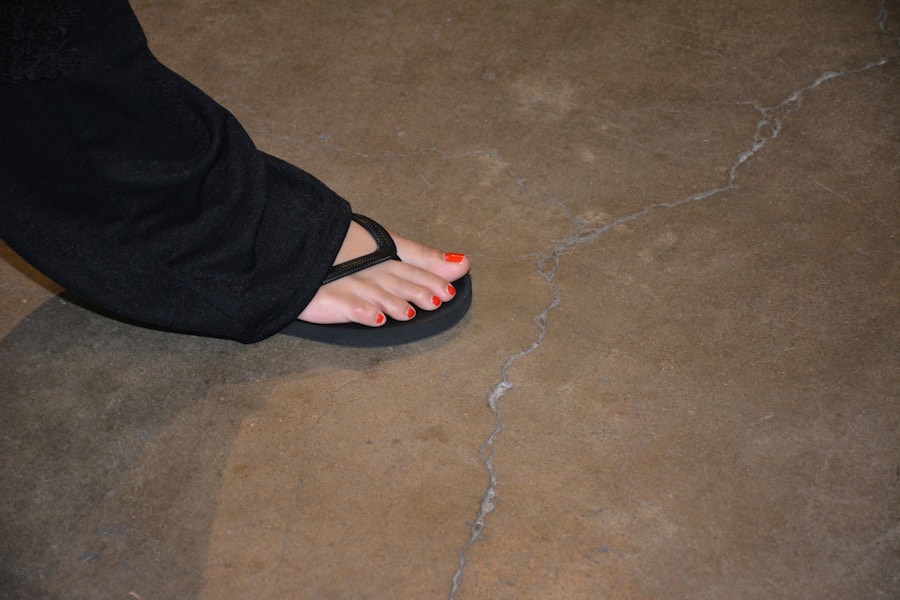
After cleaning, it is advisable to allow the floor to dry completely before proceeding with further preparations. In addition to cleaning, inspecting the concrete for cracks or imperfections is essential. Any visible cracks should be filled with a suitable concrete patching compound to create a smooth and even surface for flooring installation.
Uneven areas may require leveling compounds to ensure that the floor is flat and stable. This step is particularly important because an uneven subfloor can lead to issues such as squeaking or shifting once the flooring is installed. Taking the time to properly prepare the basement floor will ultimately contribute to a more successful and long-lasting flooring installation.
Installing a Vapor Barrier
Installing a vapor barrier is a crucial step in protecting your basement flooring from moisture intrusion. A vapor barrier acts as a shield against ground moisture that can seep through concrete floors and compromise the integrity of your flooring material.
The installation process begins by laying down the vapor barrier over the entire basement floor after ensuring that it is clean and dry. When installing the vapor barrier, it is essential to overlap seams by at least 12 inches and seal them with waterproof tape to create a continuous barrier against moisture. Additionally, any penetrations through the barrier—such as plumbing pipes—should be sealed with appropriate materials to prevent moisture from bypassing the barrier.
The edges of the vapor barrier should extend up the walls slightly, typically around 6 inches, and be secured in place with tape or adhesive. This ensures that any moisture that may accumulate along the walls does not find its way beneath the flooring material.
Installing Moisture-Resistant Flooring
With the vapor barrier securely in place, it’s time to install the chosen moisture-resistant flooring material. The installation method will vary depending on the type of flooring selected; for instance, vinyl plank flooring often features a click-lock design that allows for easy installation without glue or nails. This floating installation method is particularly advantageous in basements because it allows for slight movement without compromising the integrity of the floor.
For tile installations, it is essential to use a thin-set mortar specifically designed for wet areas. The tiles should be laid out according to a predetermined pattern, ensuring that spacers are used between tiles for consistent grout lines.
Engineered wood may require glue-down or nail-down methods depending on its design; however, it is crucial to follow manufacturer guidelines closely to ensure proper installation and warranty coverage. Regardless of the flooring type chosen, careful attention during installation will yield a durable and aesthetically pleasing result.
Sealing the Edges and Joints
After installing moisture-resistant flooring, sealing edges and joints becomes an important task that should not be overlooked. Proper sealing helps prevent moisture from infiltrating through gaps and seams, which could lead to damage over time. For vinyl plank flooring, using a silicone-based caulk along baseboards and transitions can create an effective barrier against moisture intrusion.
This caulking should be applied smoothly and evenly for both aesthetic appeal and functional effectiveness. In tile installations, grout sealing is equally important. While grout itself is porous and can absorb moisture if left unsealed, applying a grout sealer after installation will help protect against stains and water damage.
Homeowners should follow manufacturer instructions regarding drying times before applying sealer and ensure that all grout lines are thoroughly covered. For engineered wood floors, sealing around edges with an appropriate sealant can help maintain their integrity while providing additional protection against moisture exposure.
Maintaining Moisture-Resistant Flooring
Once installed, maintaining moisture-resistant flooring is essential for ensuring its longevity and performance over time. Regular cleaning practices should be established based on the type of flooring material used; for instance, vinyl plank floors can typically be cleaned with a damp mop and mild detergent, while tile floors may require specialized cleaners that do not damage grout lines. It’s important to avoid excessive water during cleaning as this can lead to moisture accumulation beneath the surface.
In addition to routine cleaning, monitoring humidity levels in the basement is crucial for maintaining flooring integrity. Ideally, indoor humidity levels should be kept between 30% and 50%. Using dehumidifiers can help manage excess moisture during humid months or in areas prone to high humidity levels.
Regular inspections for signs of mold or mildew should also be conducted; if any issues are detected early on, they can often be addressed before they escalate into more significant problems that could compromise both health and structural integrity.
When it comes to installing moisture-resistant flooring in a basement, homeowners often face the decision of whether to hire a professional or tackle the project themselves. Each option has its advantages and disadvantages that should be carefully considered based on individual circumstances and skill levels. Hiring a professional contractor can provide peace of mind; experienced installers are familiar with best practices for handling moisture issues and ensuring proper installation techniques are followed.
They also have access to specialized tools and equipment that may not be readily available to DIYers. On the other hand, opting for a DIY approach can save money on labor costs and allow homeowners greater control over their project timeline. However, this route requires a certain level of skill and knowledge about flooring installation techniques as well as an understanding of how to address potential moisture issues effectively.
For those who are confident in their abilities and willing to invest time into learning about proper installation methods, DIY can be a rewarding experience that results in significant cost savings. Ultimately, whether hiring a professional or going the DIY route depends on personal preferences, budget constraints, and comfort levels with home improvement projects.
If you’re considering installing moisture-resistant flooring in your Brooklyn basement, you may also be interested in learning about the importance of typography in basement remodeling. Check out this article to discover how choosing the right fonts and layouts can enhance the overall design of your basement space.
FAQs
What is moisture-resistant flooring?
Moisture-resistant flooring is a type of flooring that is designed to withstand exposure to moisture and humidity without warping, buckling, or developing mold and mildew.
Why is moisture-resistant flooring important for a basement in Brooklyn?
Basements in Brooklyn are prone to moisture issues due to the high water table and the potential for flooding. Moisture-resistant flooring is important to prevent damage from moisture and to maintain a healthy indoor environment.
What are the different types of moisture-resistant flooring options for a Brooklyn basement?
Some common moisture-resistant flooring options for a Brooklyn basement include luxury vinyl planks, ceramic or porcelain tile, and engineered wood with a moisture-resistant core.
How can I install moisture-resistant flooring in my Brooklyn basement?
To install moisture-resistant flooring in your Brooklyn basement, you will need to properly prepare the subfloor, choose the right underlayment, and follow the manufacturer’s instructions for installation. It is recommended to hire a professional for proper installation.
What are the benefits of installing moisture-resistant flooring in a basement?
The benefits of installing moisture-resistant flooring in a basement include protection against water damage, prevention of mold and mildew growth, and the ability to maintain a clean and durable flooring surface in a potentially damp environment.