Before embarking on the journey of installing a concrete floor in your basement, it is crucial to conduct a thorough assessment of the space.
Start by examining the walls and floor for signs of moisture or water damage, as basements are often prone to dampness.
Look for efflorescence, which appears as white, powdery deposits on the concrete surface, indicating that water is seeping through. If you notice any leaks or persistent dampness, it may be necessary to address these issues before proceeding with the flooring project. In addition to moisture concerns, consider the overall layout and functionality of your basement.
Take measurements to determine the square footage and assess the ceiling height, as these factors will influence your choice of materials and design. If your basement has low ceilings, you might want to opt for lighter colors or finishes that can create an illusion of height. Furthermore, think about how you plan to use the space.
Will it serve as a recreational area, a home office, or perhaps a guest suite? Understanding the intended purpose will guide your decisions regarding insulation, heating, and flooring options.
Key Takeaways
- Properly assess the basement for any moisture issues before starting the concrete flooring project
- Prepare the subfloor by cleaning and leveling it to ensure a smooth and even surface for the concrete
- Choose the right type of concrete for your specific needs, considering factors such as strength and durability
- Follow proper mixing and pouring techniques to ensure a strong and even concrete floor
- After pouring, focus on leveling and smoothing the surface to achieve a professional finish
Preparing the Subfloor
Once you have assessed the basement and addressed any moisture issues, the next step is preparing the subfloor. This process is essential for ensuring a stable foundation for your concrete floor. Begin by clearing the area of any debris, old flooring materials, or furniture.
A clean workspace not only facilitates easier installation but also helps prevent contamination of the new concrete. After clearing the area, inspect the existing subfloor for any cracks or imperfections that may need repair. Small cracks can often be filled with a concrete patching compound, while larger issues may require more extensive repairs.
Next, it is important to ensure that the subfloor is level. An uneven surface can lead to complications during the pouring process and may result in an unsightly finished product. Use a long level or a straightedge to check for high and low spots across the entire area.
If you find any discrepancies, you can use a self-leveling compound to create a smooth surface. This compound is designed to flow into low areas and harden into a flat surface, making it an ideal solution for preparing your subfloor. Once the leveling compound has cured, you can proceed with laying down a moisture barrier if necessary, particularly in areas prone to dampness.
Choosing the Right Concrete
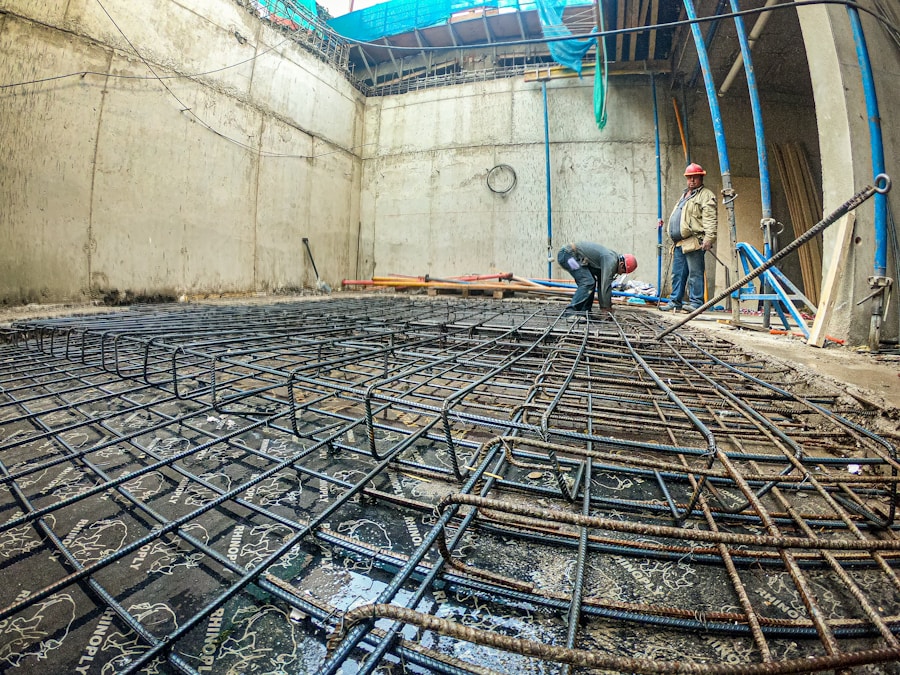
Selecting the appropriate type of concrete for your basement floor is a critical decision that can significantly impact both performance and aesthetics. There are various types of concrete mixes available, each with its own set of properties suited for different applications. For instance, if you anticipate heavy foot traffic or plan to use the space for activities that may involve heavy equipment, consider using high-strength concrete designed to withstand such demands.
This type of concrete typically has a higher compressive strength and can endure greater loads without cracking. In addition to strength considerations, think about the finish you desire for your concrete floor. Decorative concrete options such as stamped or stained concrete can enhance the visual appeal of your basement while still providing durability.
Stained concrete allows for a variety of colors and patterns, enabling you to customize the look to match your personal style or existing decor. On the other hand, stamped concrete can mimic the appearance of natural stone or tile without the associated maintenance concerns. When choosing your concrete mix, consult with local suppliers or professionals who can provide guidance based on your specific needs and local climate conditions.
Mixing and Pouring the Concrete
With your concrete type selected, it’s time to move on to mixing and pouring. If you are working with pre-mixed bags of concrete, follow the manufacturer’s instructions carefully regarding water-to-concrete ratios to achieve optimal consistency. For larger projects, you may opt for ready-mix concrete delivered by a truck, which ensures uniformity and saves time on mixing.
Regardless of your choice, aim for a workable consistency that allows for easy pouring and spreading without being too runny. When it comes to pouring the concrete, timing is essential. Begin at one end of the basement and work your way toward an exit point to avoid stepping on freshly poured concrete.
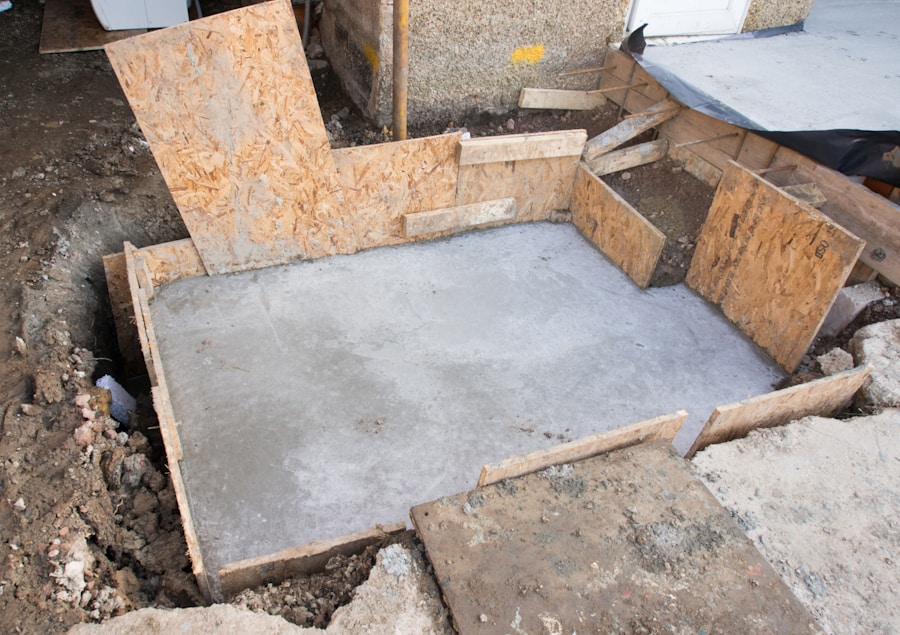
Use a shovel or hoe to spread the concrete evenly across the subfloor, filling in any low spots as you go. A screed board can be employed to level off the surface by dragging it across the top edges of forms or guides set up around the perimeter of the area being poured. This process requires careful attention to detail; ensuring that the surface is level will make subsequent finishing steps much easier.
Leveling and Smoothing the Surface
After pouring the concrete, leveling and smoothing are crucial steps that will determine the final appearance and functionality of your floor. Once you have screeded the surface, use a bull float to further smooth out any imperfections and push aggregate below the surface for a more refined finish. This tool helps eliminate ridges and creates a flat surface that is essential for both aesthetics and usability.
As you work on leveling and smoothing, pay attention to any areas that may require additional attention. If you notice any imperfections or air bubbles forming on the surface, use a trowel to address these issues promptly. A hand trowel can be particularly useful for smaller areas or corners where larger tools may not reach effectively.
The goal is to create a uniform surface that not only looks good but also provides a solid foundation for any additional treatments or finishes you plan to apply later.
Curing and Sealing the Concrete
Effective Curing Methods
There are several ways to cure concrete effectively. One common approach is to cover the surface with wet burlap or plastic sheeting, which retains moisture while allowing air circulation. Another method is to apply curing compounds directly onto the surface, forming a film that retains moisture while allowing for some evaporation.
The Importance of Sealing
Once the curing process is complete, sealing becomes essential in protecting your concrete floor from stains and wear over time. A high-quality concrete sealer creates a barrier against moisture penetration and enhances resistance to chemicals commonly found in basements.
Long-Term Protection and Maintenance
By following proper curing and sealing procedures, you can ensure the long-term protection and maintenance of your concrete floor. This will help to prevent damage, reduce maintenance costs, and maintain the appearance of your concrete surface.
Adding Finishing Touches
With your concrete floor cured and sealed, it’s time to consider adding finishing touches that will enhance both functionality and aesthetics. One popular option is applying a decorative finish such as epoxy coating or polished concrete. Epoxy coatings provide a glossy finish that is not only visually appealing but also highly resistant to stains and abrasions—ideal for high-traffic areas in your basement.
If you prefer a more natural look, consider polishing your concrete floor instead. Polished concrete involves grinding down the surface with progressively finer diamond pads until achieving a smooth sheen. This process not only enhances appearance but also makes cleaning easier by reducing porosity.
Additionally, you might want to incorporate area rugs or mats in specific zones to add warmth and comfort underfoot while also providing an opportunity for personal expression through color and design.
Maintaining Your Concrete Floor
Once your basement floor is complete and adorned with finishing touches, ongoing maintenance will ensure its longevity and appearance remain intact over time. Regular cleaning is essential; sweeping or vacuuming should be part of your routine to remove dirt and debris that can scratch or dull the surface. For deeper cleaning, use a pH-neutral cleaner specifically formulated for use on concrete surfaces—avoid harsh chemicals that could damage sealants.
In addition to routine cleaning, periodic resealing may be necessary depending on foot traffic levels and exposure to moisture or chemicals.
By staying proactive with maintenance tasks, you can enjoy a beautiful and durable concrete floor in your basement for many years to come.
If you’re looking to elevate your home with thoughtful renovations beyond just installing a concrete floor in your Brooklyn basement, you may want to consider checking out this article on Elevating Your Home with Thoughtful Renovations. This article provides valuable insights and tips on how to enhance your living space through strategic remodeling projects. Whether you’re looking to create a cozy entertainment area or a functional home office, this article offers expert advice on how to achieve your desired results.
FAQs
What are the benefits of installing a concrete floor in a Brooklyn basement?
Installing a concrete floor in a Brooklyn basement can provide a durable and long-lasting flooring solution. It can also help to prevent moisture issues and improve the overall aesthetics of the space.
What are the steps involved in installing a concrete floor in a Brooklyn basement?
The steps involved in installing a concrete floor in a Brooklyn basement typically include preparing the subfloor, pouring and leveling the concrete, and allowing it to cure. It may also involve adding a sealant or finishing the surface for added protection and aesthetics.
What materials and tools are needed to install a concrete floor in a Brooklyn basement?
Materials and tools needed to install a concrete floor in a Brooklyn basement may include concrete mix, reinforcement materials such as rebar or wire mesh, a concrete mixer, trowels, a level, and a sealer or finish for the concrete.
Are there any special considerations for installing a concrete floor in a Brooklyn basement?
Special considerations for installing a concrete floor in a Brooklyn basement may include addressing any existing moisture issues, ensuring proper insulation and ventilation, and complying with local building codes and regulations.
Can I install a concrete floor in my Brooklyn basement myself, or should I hire a professional?
While it is possible to install a concrete floor in a Brooklyn basement as a DIY project, it may be beneficial to hire a professional contractor with experience in concrete installation, especially if the project involves addressing specific challenges such as moisture issues or uneven subfloors.